Front Camber Adjustment
Front Camber Adjustment
1. Raise and support the vehicle. Refer to Lifting and Jacking the Vehicle Service and Repair.
2. Remove the wheel and tire assemblies. Refer to Tire and Wheel Removal and Installation Service and Repair.
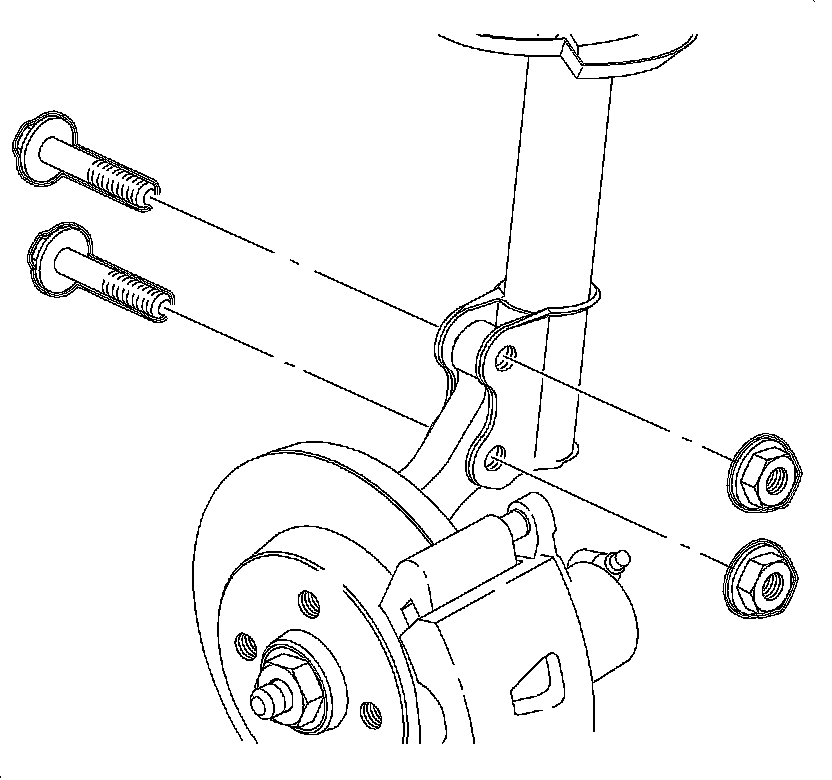
3. Remove the strut to knuckle nuts and bolts. Discard the nuts and bolts.
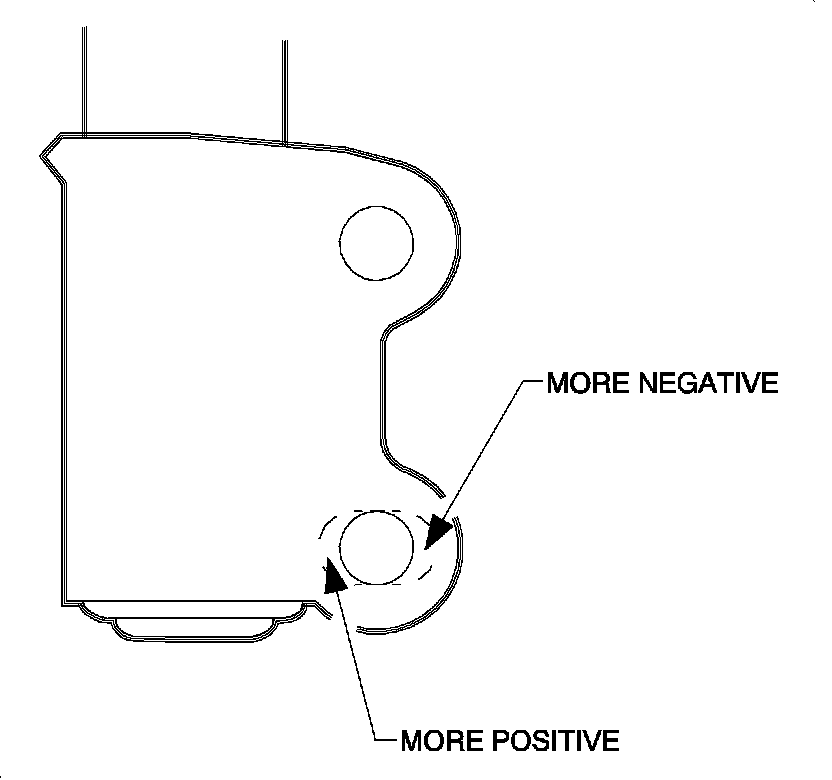
4. If the strut has not been previously modified, perform the following procedure:
1. Disconnect the strut from the knuckle.
Note:
* Maximum outboard adjustment-(increased negative camber) 2.0 mm of outboard elongation or to within 11.0 mm from outboard edge of lower strut clevis bracket, whichever comes first
* Maximum inboard adjustment-(increased positive camber) 4.0 mm of inboard elongation
* If filing the strut, paint the exposed metal with primer.
2. If increasing negative camber, remove material from the outside of the lower strut hole.
3. If decreasing negative camber, remove material from the inside of the lower strut hole.
5. Loosely install new strut to knuckle nuts and bolts.
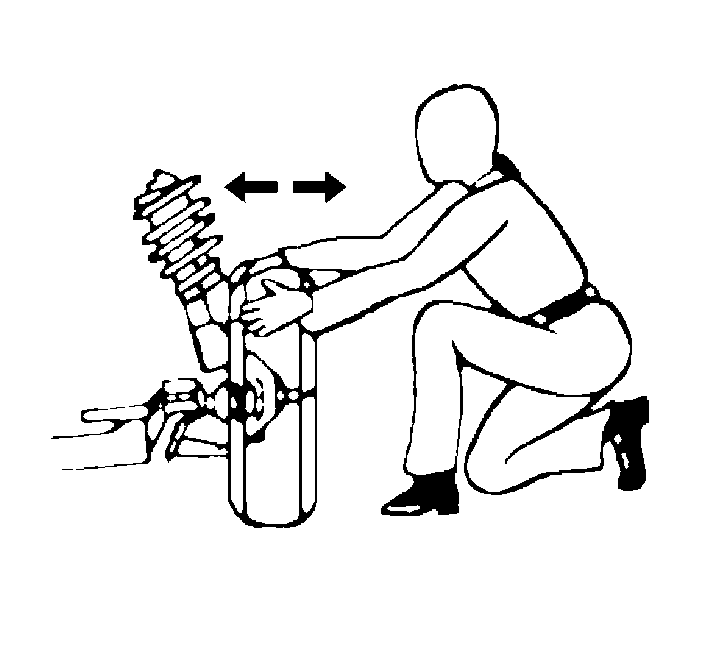
6. Adjust the camber to specifications by moving the top of the wheel in or out as necessary. Refer to Wheel Alignment Specifications Wheel Alignment Specifications.
Caution:
Refer to Fastener Caution Fastener Caution.
7. Tighten strut to knuckle nuts and bolts to 180 Nm (133 lb ft).
8. Install the wheel and tire assemblies. Refer to Tire and Wheel Removal and Installation Service and Repair.