Reduction Driven Gear: Installation
- Install the straight pin to reduction driven gear assembly.
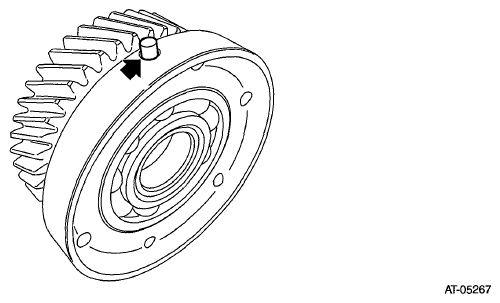 Courtesy of SUBARU OF AMERICA, INC.
- Fit the straight pin portion to the recess portion of transmission case and install the reduction driven gear and install the snap ring.
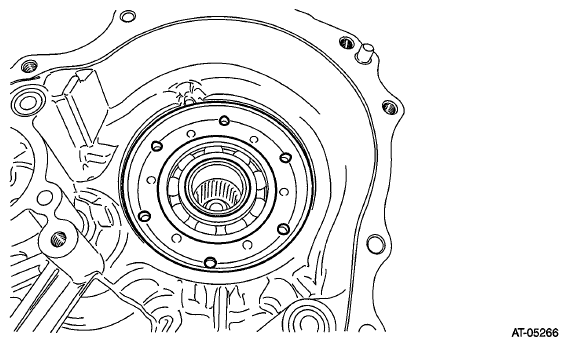 Courtesy of SUBARU OF AMERICA, INC.
- Select the snap ring. Ref. to
ADJUSTMENT , Reduction Driven Gear.
- Install the selected snap ring.
- Install the forward clutch assembly. Ref. to
INSTALLATION , Forward Clutch Assembly.
- Install the intermediate case. Ref. to
INSTALLATION , Intermediate Case.
- Install the transfer reduction driven gear assembly. Ref. to
INSTALLATION , Transfer Reduction Driven Gear.
- Install the transfer clutch assembly. Ref. to
INSTALLATION , Transfer Clutch.
- Install the rear drive shaft. Ref. to
INSTALLATION , Rear Drive Shaft.
- Install the extension case. Ref. to
INSTALLATION , Extension Case.
- Install the transmission to vehicle. Ref. to
INSTALLATION , Automatic Transmission Assembly.